- Back to Part Three
- On to Part Five
- Back to the main Alpha page
- More Projects
|
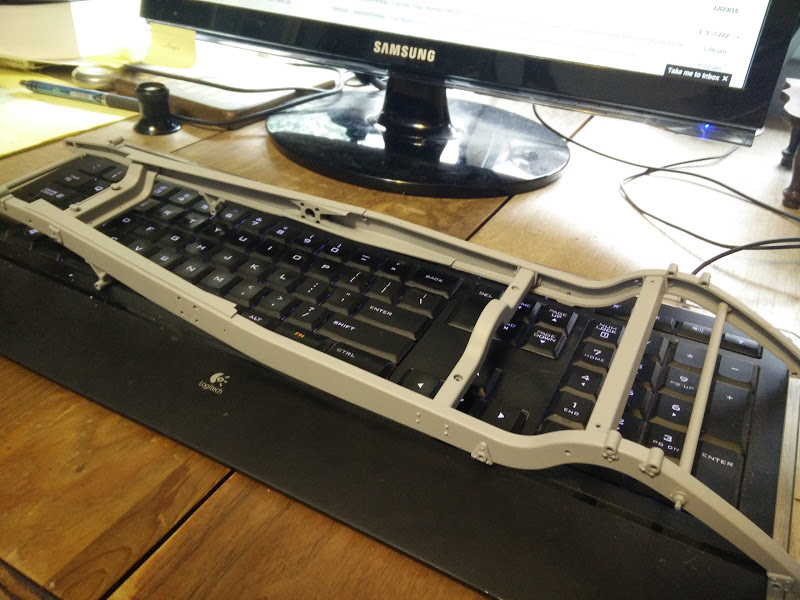
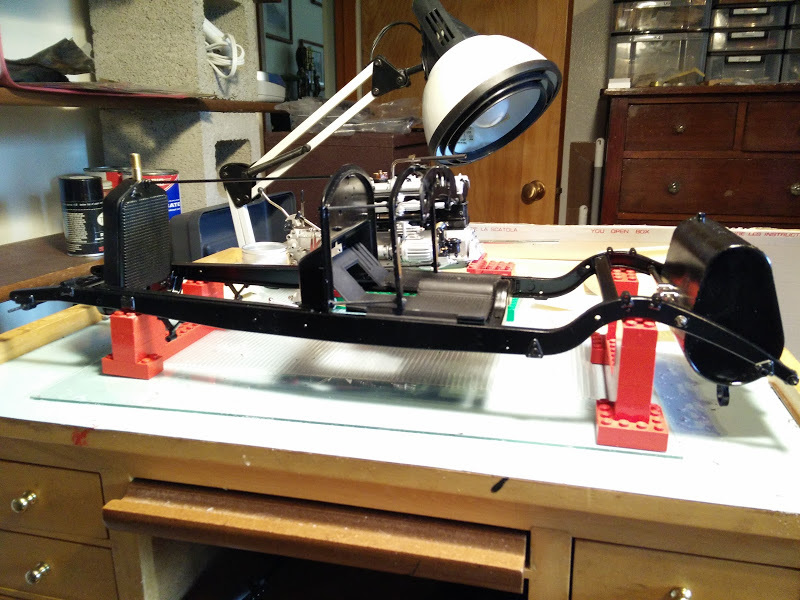
I primed the frame, plus a few other recognizable auto parts. It's at this point that something has to be done about issues involving major parts not fitting together (at all), before final paint of these pieces. Changes and alterations have to be made and I need to test the parts together to see how bad the problems are. They're bad.
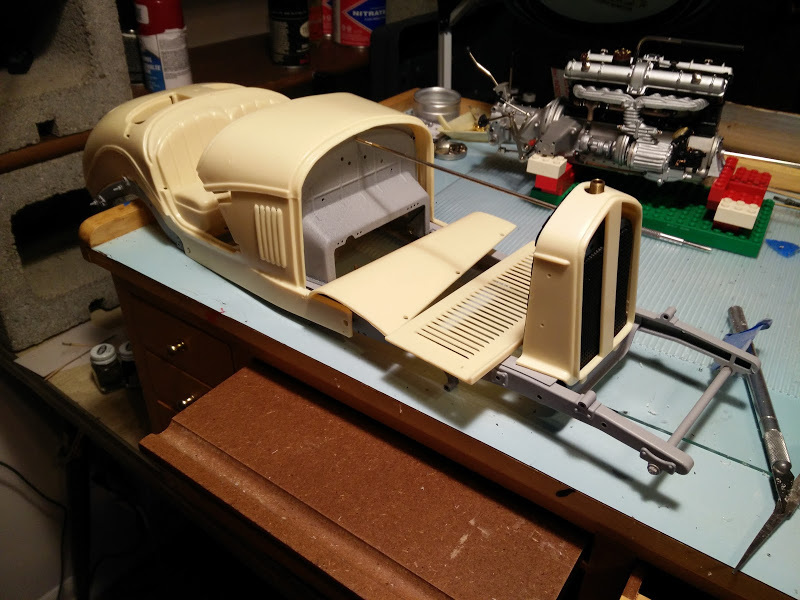
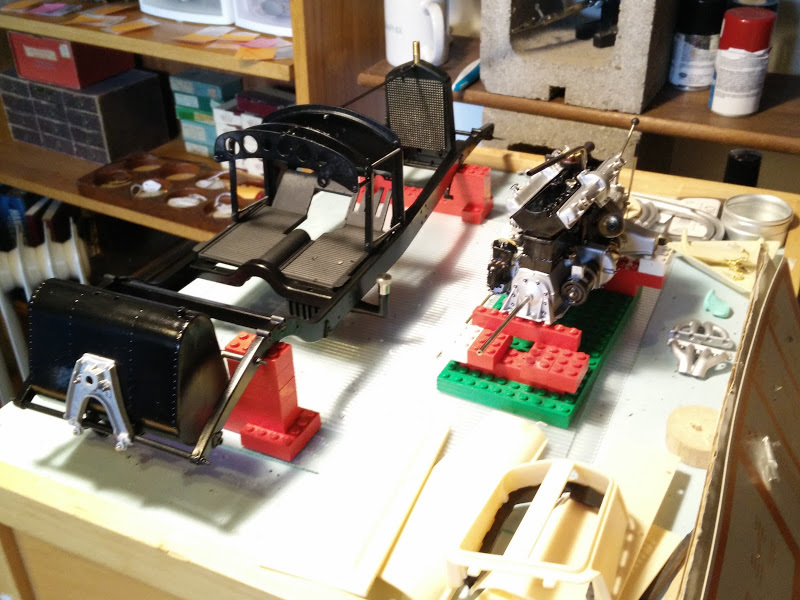
But here we can see the scale of the thing. I'm going to need a bigger work surface. |
|
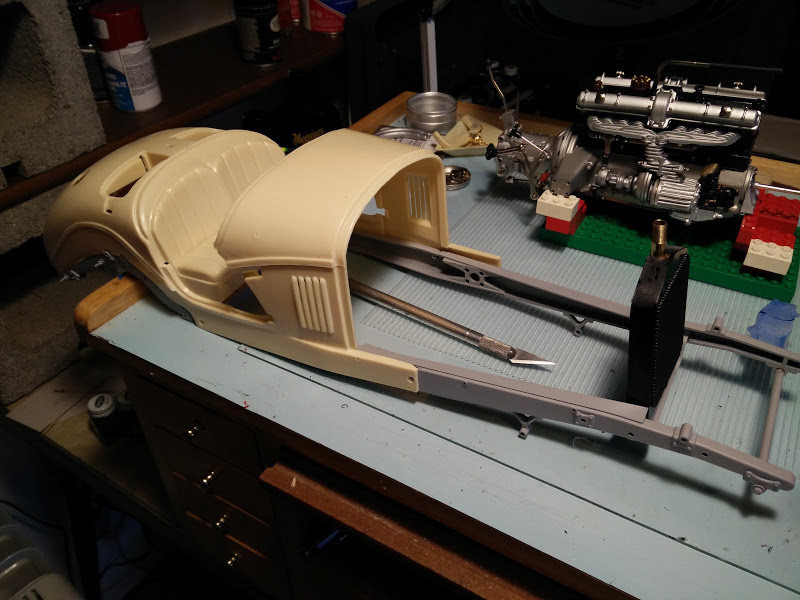
One well known problem with this Pocher classic is that assembled "as-is", and hood appears to be about a quarter of an inch too short. The hood is correct though. The real problem is that the radiator should tilt back at a significant angle. But assemble "as-is", or as directed, and the radiator ends up at 90 degrees. A secondary issue is that with the radiator at the right angle, the engine doesn't fit. It is too close at the front.
There are a few fixes to do; changing the angle on various connecting parts to the radiator, moving the engine back, and altering the radiator so the brass fill does not really connect to the hood ornament. To get the engine to fit requires a pretty significant change. But I am going to get that quarter inch by doing several smaller changes to everything. |
|

|
|
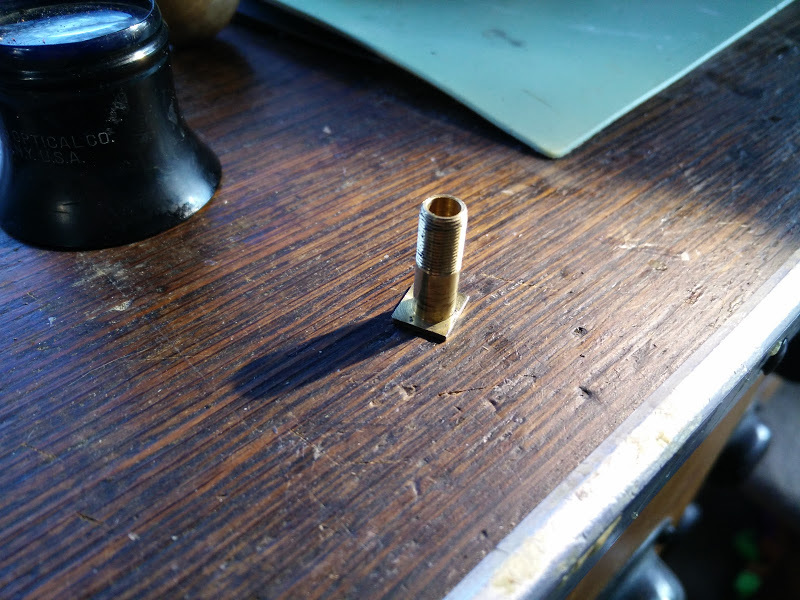
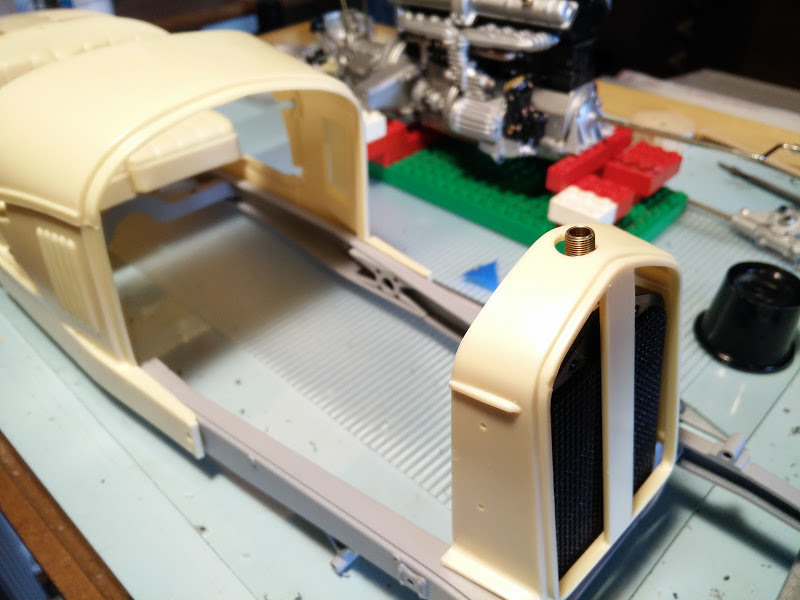
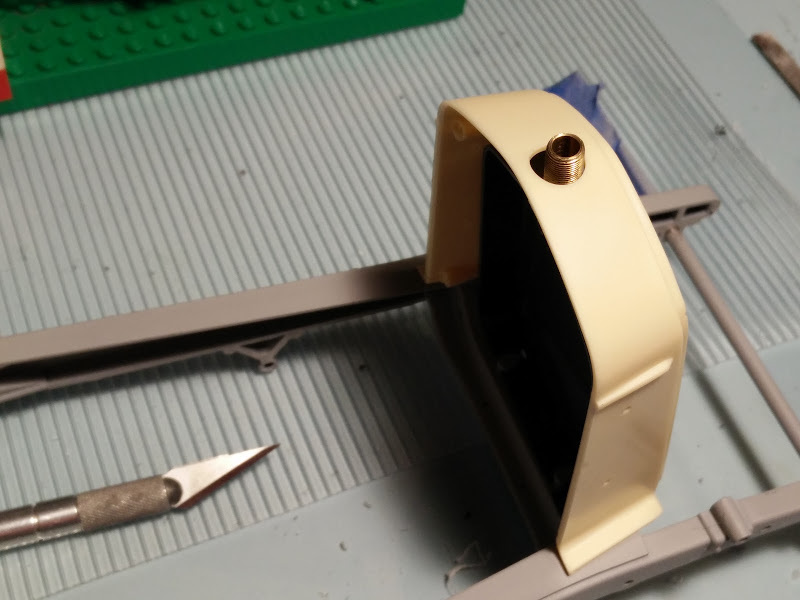
On the hood ornament, the brass part passes up through the nose body piece. This has to line up. By not having that part there, the nose can be shifted back enough to make the hood fit, but the radiator inside does not have to shift back so much that the engine doesn't fit.
Rather than leave that part out, I ground off one side of it's base. Now it sits closer to the back of the radiator. I can pass up outside the body, and the radiator can still sit ever so slightly forward. I haven't seen this suggested anyplace else, but it buys a couple of millimeters.
Rather than leave that part out, I ground off one side of it's base. Now it sits closer to the back of the radiator. I can pass up outside the body, and the radiator can still sit ever so slightly forward. I haven't seen this suggested anyplace else, but it buys a couple of millimeters.
|
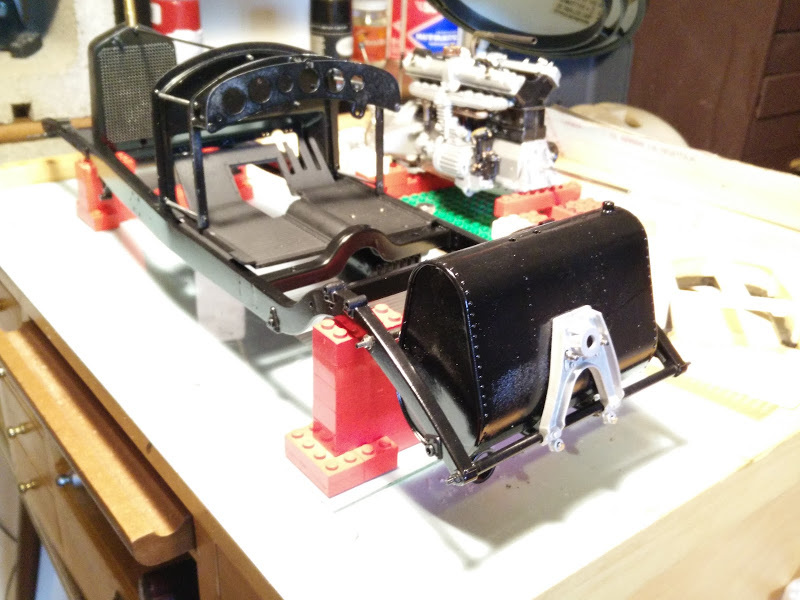
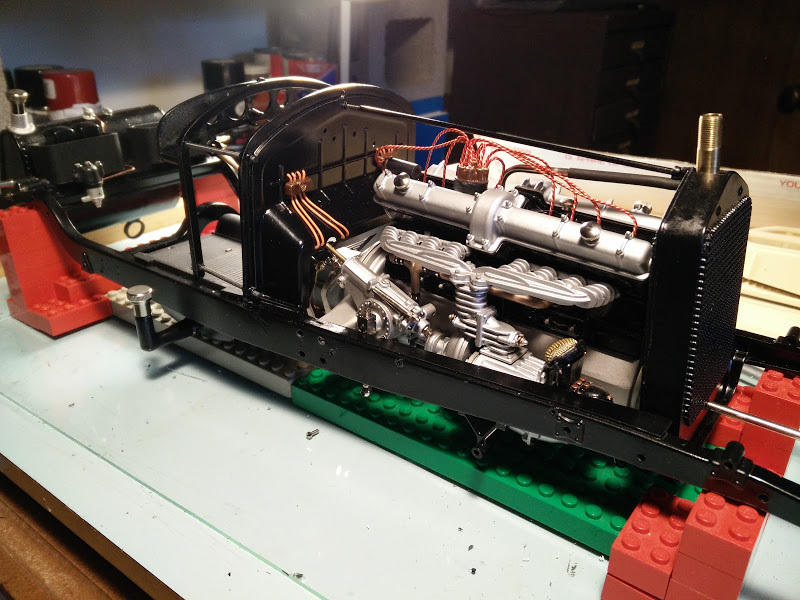
I still have to change the angle of holes for the support rod and other connecting parts, and I will have to move the engine a little, but not so much that a new front support for the engine will have to be made. From my rough assembly shown here, it looks like it will all work.
|
|
|
|
|
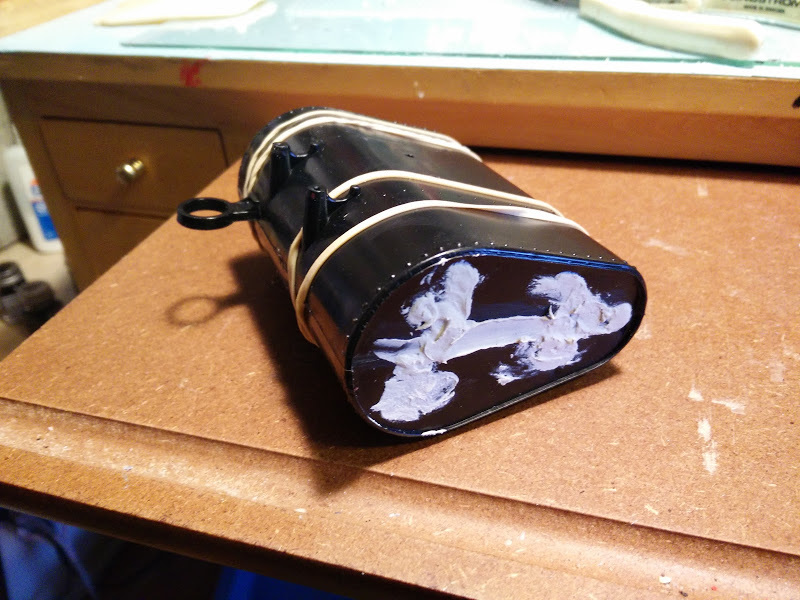
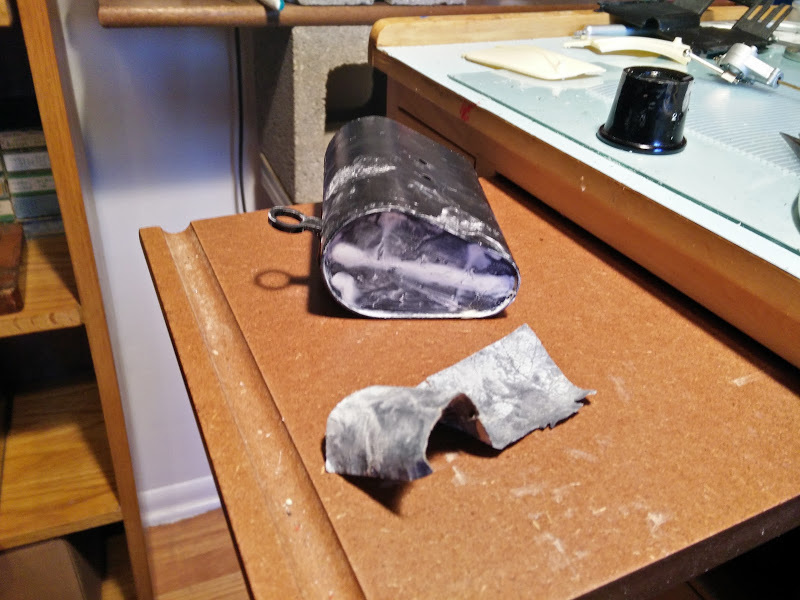
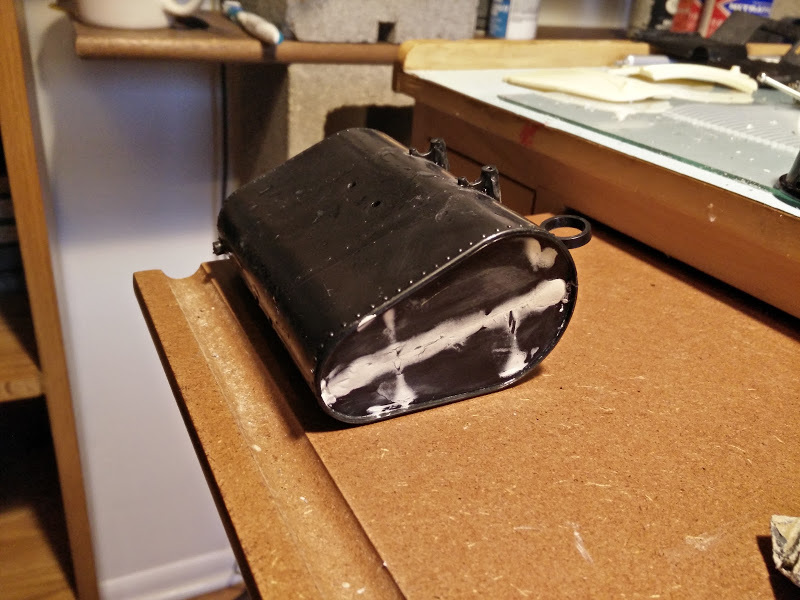
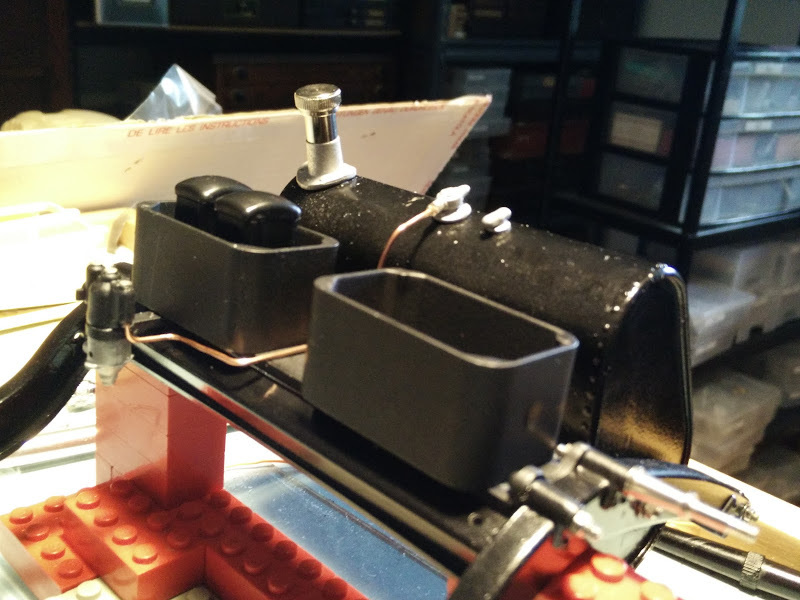
Next are some images of the fuel tank. Again, every little bit of this project takes a long time... In a Pocher kit, no parts really work as there are out of the box. The fuel tank and related pieces were no exception. It took quite a bit of sculpting, filing and carving to get it as good as it is (which is not that great). It is also time consuming because one must assemble many parts to check fit, and disassemble them all to make changes, over and over, and all before any painting.
|
|
|
|
|
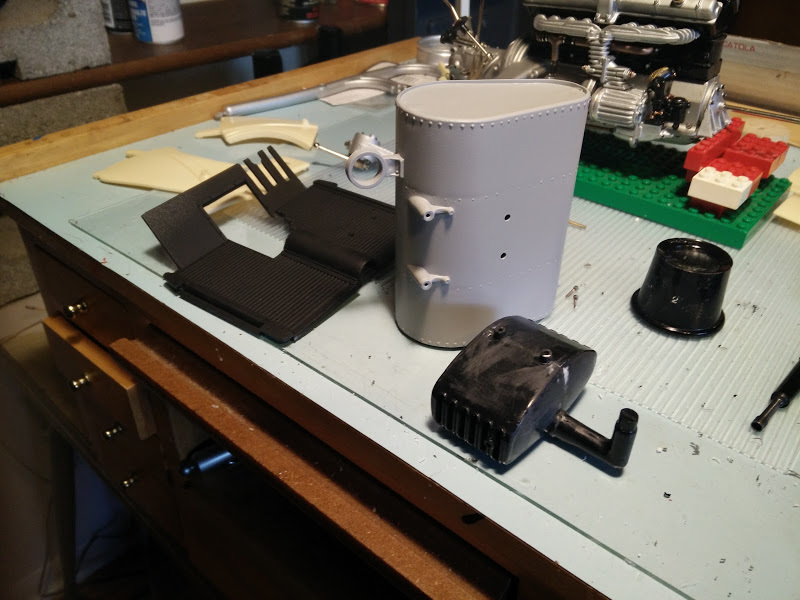
This is the tank, primed, with the floorboard and the oil cooler.
|
|
|
The dashboard assembly is in these photos, but that is temporary as I plan to make one out of some nice hardwood.
The workspace getting crowded... This thing is big! |
|
|
|
|
Everything goes slowly on this thing... I put in ignition wires, and completed a little sub-assembly that holds the two containers that make up a sort trunk. One contains the car's batteries.
|
|
|
Also, there is installed the fuel line from the tank to the fuel pump done. Routing the pipe from there to the engine will be more of a challenge. And there also is a wire that goes from there to the fuel gauge on the dash yet to do.
|
|
