- Back to Part One
- On to Part Three
- Back to the main Alfa page
- More Projects
|
Correcting a wrapped part was easier than I expect it might be, due I think to this soft, old type of plastic. The parts can be heated in not quiet boiling water for about 45 seconds at a time. They become slightly malleable for a few seconds and can be straightened out!
The kit uses 4 or 5 slightly different types of plastic, each with different properties. For example, a given type of glue will work on one type of part but not on another. I have three types of glue on hand (so far). |
|
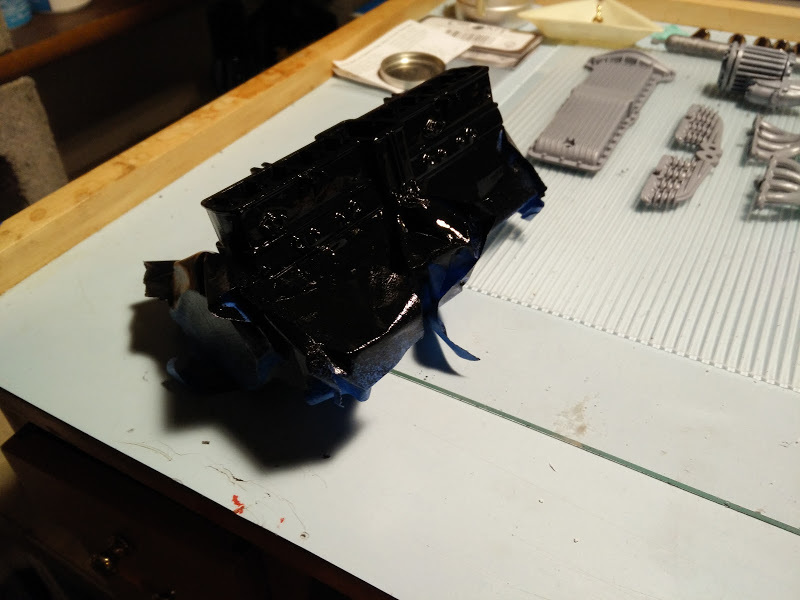
It's hard to see, but the lower part of the engine block is masked off so that the upper part can be sprayed a different color. Painting is a time consuming process - primer coats, sanding, more priming, 3 or 4 dust coats of color (sometimes different colors, particularly for a metal look), finish coat and then touch up.
|
|
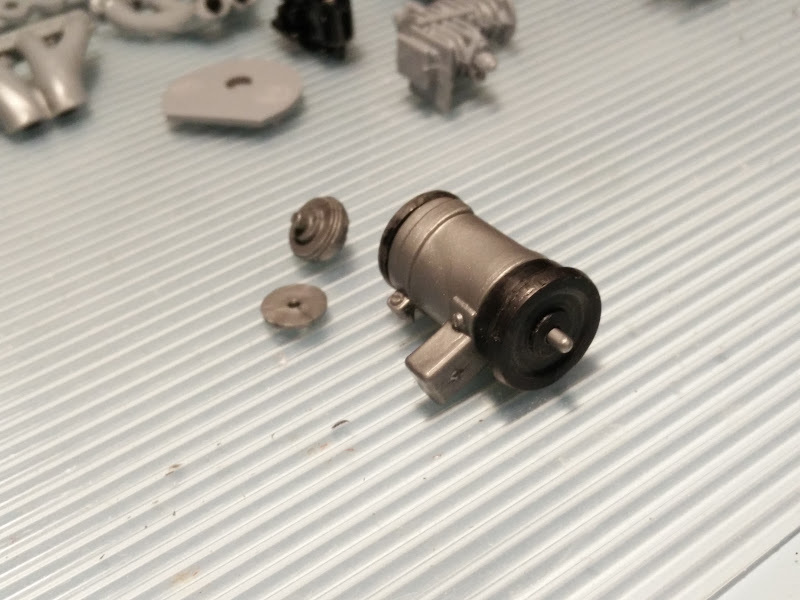
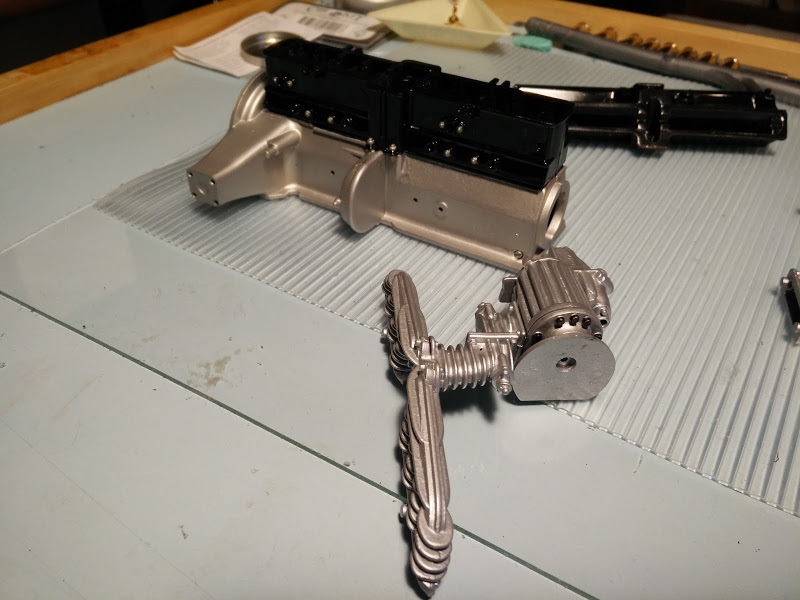
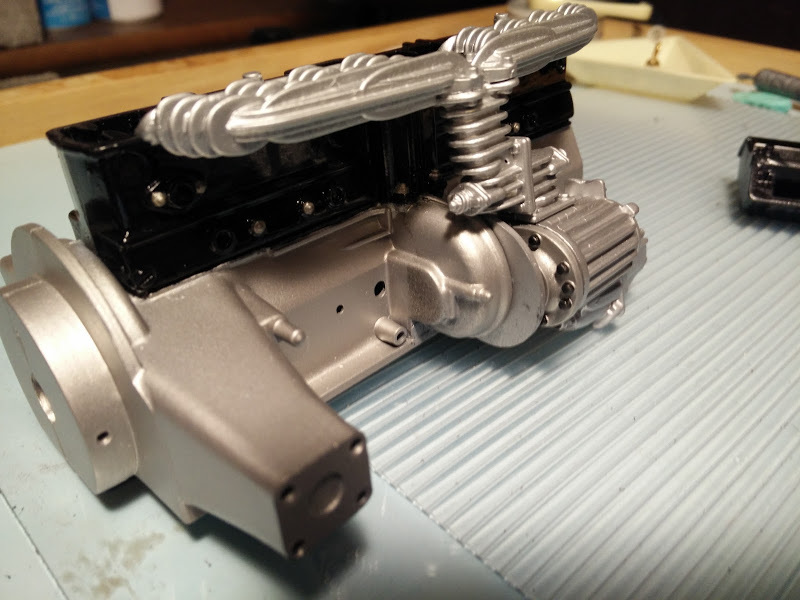
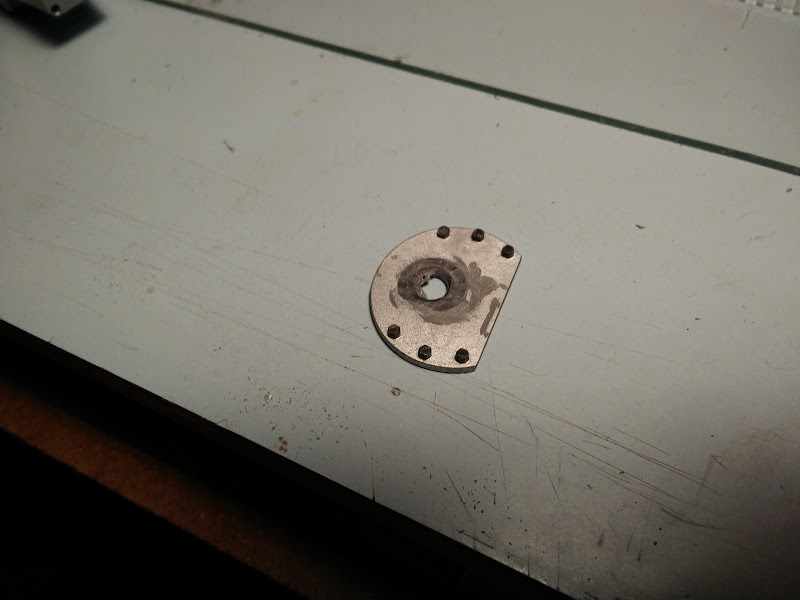
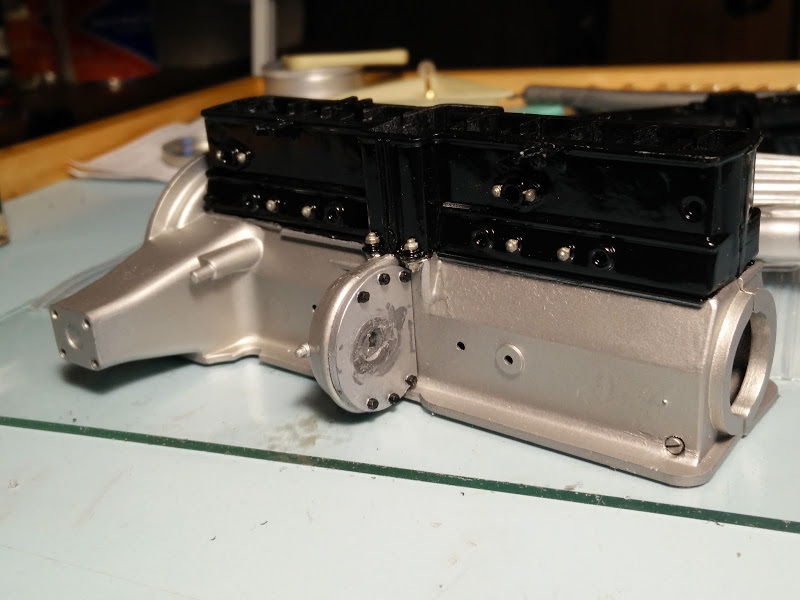
Here is a huge problem, or at least I think it is a problem. There is a back plate on the end of the supercharger here. It is a flat, round disk-like piece with a squared off side. With the assembly in place, it stands out a good quarter of an inch from the extending part of the engine block. There is a giant error someplace as all the photos of the real engine I have seen show these pieces are extending out the same distance, all lining up. Also, if assembled as is, the bolts in the plate (on the side not shown in these photos) would go into nothing, making no sense.
This error does not interfere with anything, but looks pretty dumb. I decided to make the plate line up with the engine block. |
|
The part that need the alteration first gets its flat side cut down significantly more so that it goes inward further on the engine block and lines up (here we see those bolts by the way, they make no sense with the piece hanging out in space as far as it did). I also cut away the large semi-circle that fit this part to the end of the supercharger. Now this plate will be attached to the engine body instead of the supercharger. The supercharger of course still falls outward pretty far when in place, but in the final assembly it will be pulled in some toward the engine as it is held by a screw from inside the engine block.
There are many errors or fit and casting on this thing, but this seems to be a rather large error of scale, probably of the engine block. That's strange some a model so accurate and detailed everyplace else. These parts are not fully secured because after fixing all the fit problems, it all has to be taken apart again to put the crankshaft and pistons in. |
|
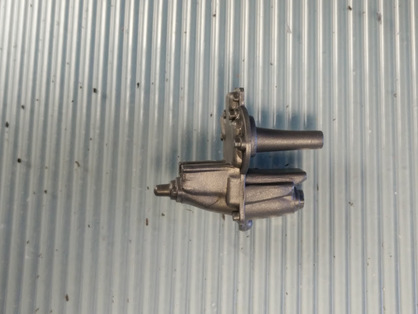
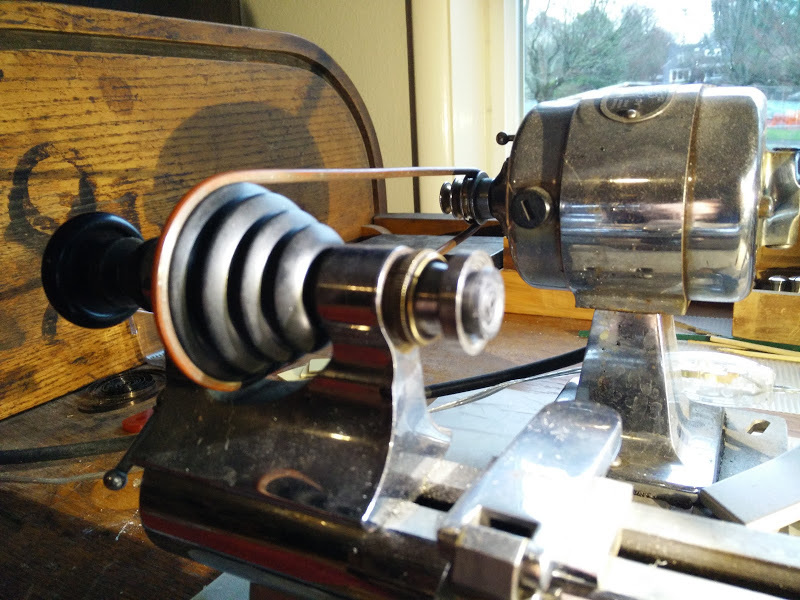
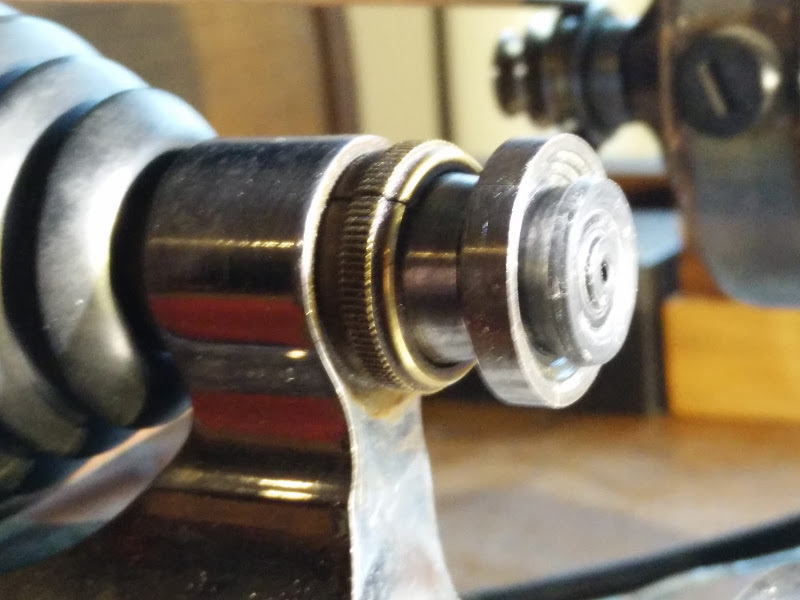
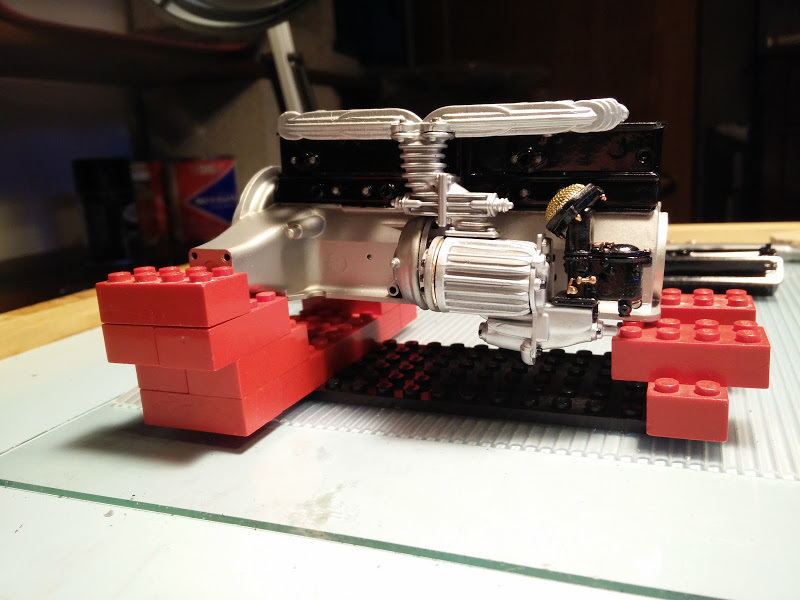
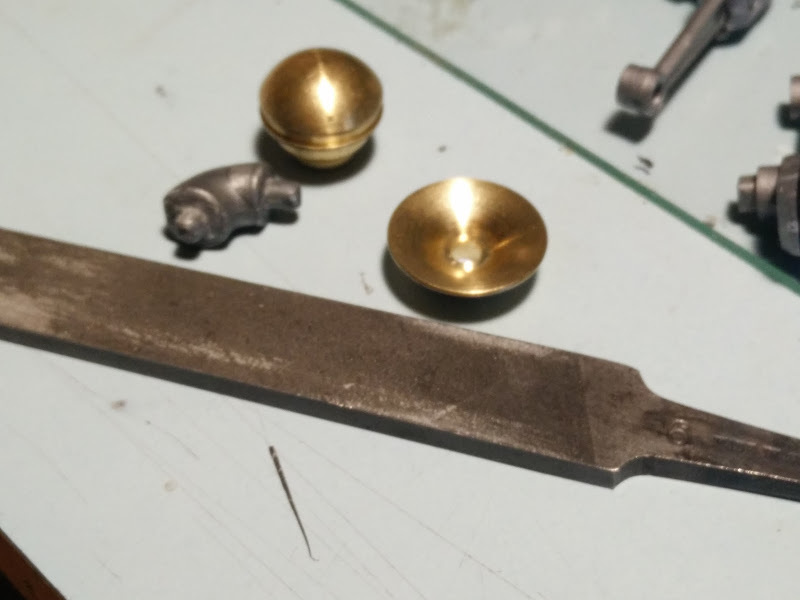
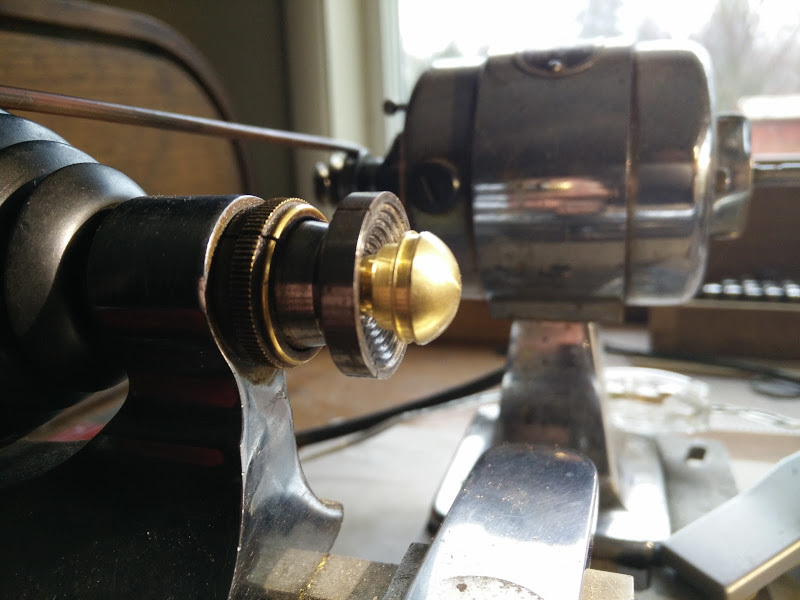
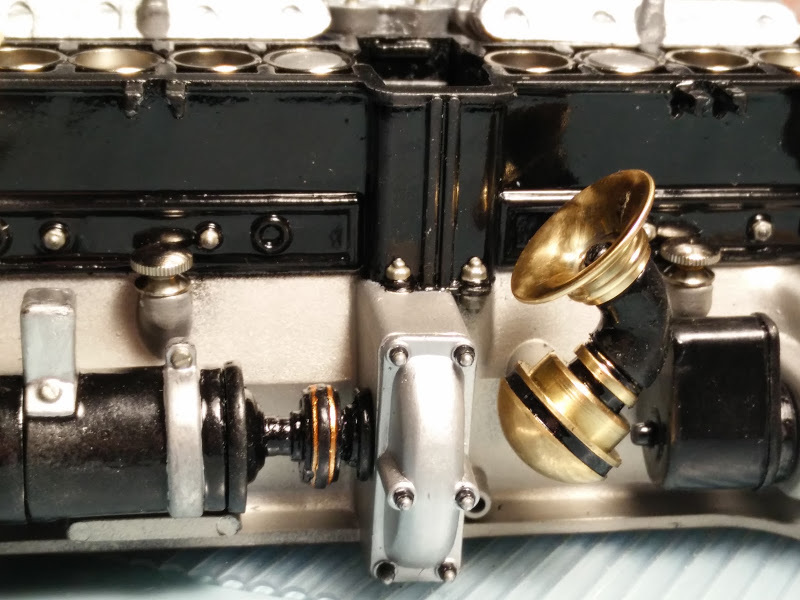
The horn in Pocher Alfa kit is a plastic body and two brass parts that appear to actually be machined. The brass is not finished well though, so into the lathe they go for trimming and polishing.
Also, a handy tool here is a fine file with smooth (non-cutting) sides. I have used this tool a lot to square off "puffy" plastic parts. The smooth side can work right up into a corner without cutting, while the cutting side makes a flat surface. angles closer to 90 degrees improves the look of every part. The completed horn mounts to the side of the engine block. |
With that last sub-assembly attached, the engine is nearly complete. There is still the oil pan, and the whole upper part - cylinder head and cam shafts.
|
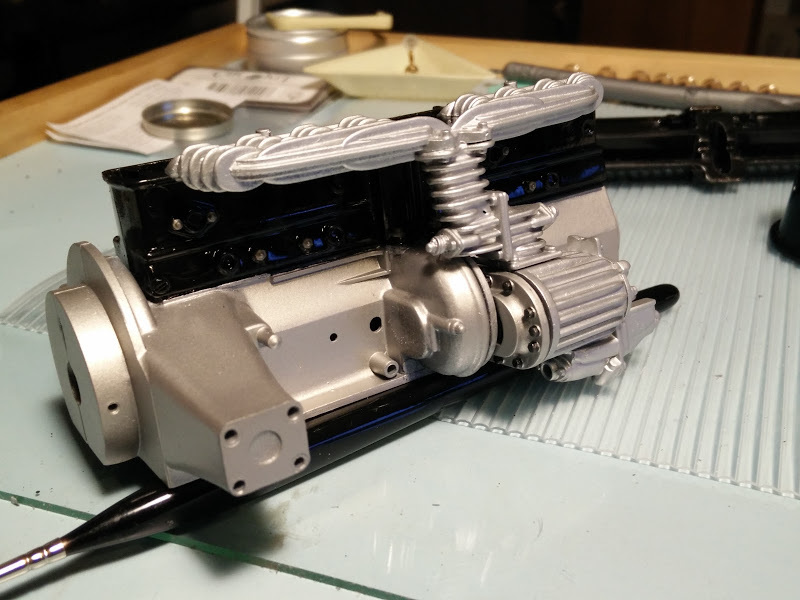
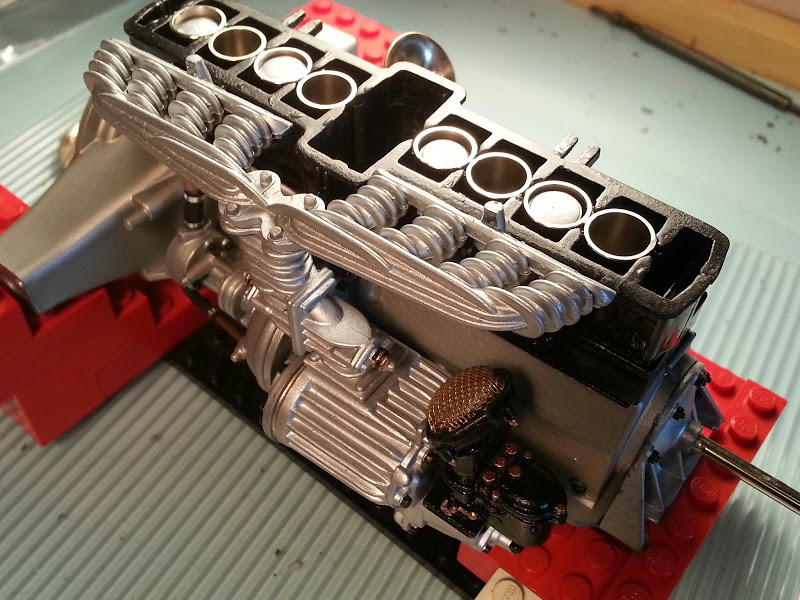
The bulk of the engine assembly is completed, including the infamous Pocher working crankshaft and cylinders - and that took some effort... I don't think a single piece fit and worked as-is.
Not sure about the firing order either... It is assembled as per the diagrams, but I read someplace that they were incorrect. View an animation of the action here. |
Here are a few general observations about the Pocher models.
- Firstly, the quality control is really awful. I have not encountered any parts missing in this kit, yet. But the moldings are extremely primitive. No plastic part is ready to use as-is, and many parts have to be sculpted extensively into the desired component. At best, the shapes are "puffy" and rounded. I found going over every part flattening surfaces, squaring off angles and redefining scored lines help a lot. This is especially true for molded nuts and bolts.
- As has been noted, the instructions are not really instructions. They are more like a diagram showing the location of (most of) the parts. A practical assembly sequence is not provided.
- A few tools I have, related to watchmaking, that most builders would not have, have been quite useful. These include gravers, good screw drivers, needle-sized fine files in various types, cutting brooches and the lathe.
- These kits are extremely detailed. The effort and time each individual piece takes in well worth it.
- Back to Part One
- On to Part Three
- Back to the main Alpha page
- More Projects
